
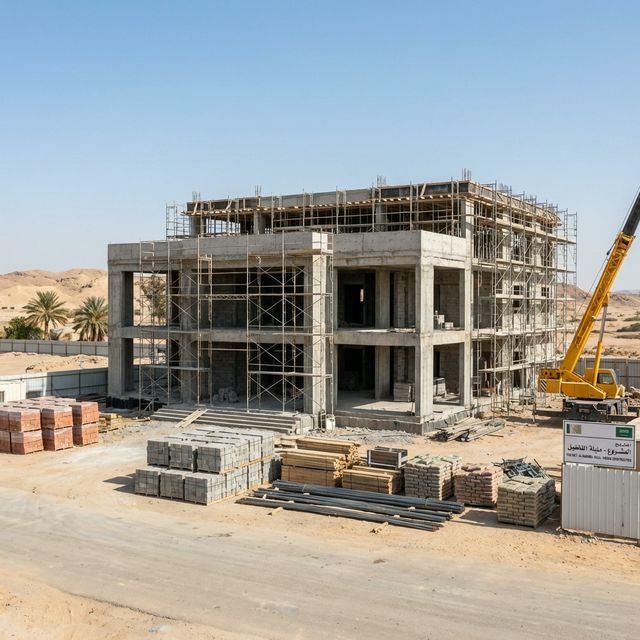
Everything that leaks later was installed before the plaster went on. This is the first fix sequence, with the tests that have to happen while the pipes are still visible.
Plumbing first fix is the stage where supply and waste pipework is installed inside walls, floors and ceilings before anything covers it. It is the only window in which the installation can be seen, measured and tested. Once plaster, screed and tiles are on, a defect becomes a demolition job, so the whole discipline of this stage is about proving the work before it disappears.
Before stage one
Before a pipe is fixed, three things have to be settled: the final positions of every fitting, the routes agreed with the electrical and air conditioning trades, and the pipe material approved with its jointing method. Changing a basin position after first fix means opening a wall, so the room layouts need to be genuinely final, including the heights of wall mounted items.
- Approved sanitaryware and fittings schedule with final positions and connection heights marked on drawings.
- A coordinated services layout showing where plumbing, electrical and ducting routes cross.
- Approved pipe material and fittings, with certification and the jointing method stated.
- Sleeves and cast in components identified for every penetration through structure.
- An inspection and test plan naming the pressure test, its medium, duration and witness.
Stage 1: Set out the fittings and mark the walls
Mark the centre line and height of every outlet, waste and fitting on the structure, from the drawings and the approved sanitaryware dimensions. Marking before fixing exposes conflicts while they are free to fix: a basin whose waste lands on a column, a shower mixer at a height that collides with a window reveal, a toilet whose soil connection cannot reach the stack.
- Deliverable: Marked walls and floors with dimensions, photographed and checked against the approved layouts.
- Owner: Plumbing foreman with the site engineer.
- Approval gate: Setting out approved before any pipe is cut.
Stage 2: Form penetrations properly rather than cutting later
Every pipe that passes through a slab, a beam or a structural wall needs a sleeve or opening agreed with the structural engineer. Coring a hole later through a beam or near a column is a structural alteration made by whoever had the drill. Sleeves also allow movement and let the penetration be fire stopped and sealed correctly.
- Deliverable: A penetration schedule with approved positions and sleeve sizes.
- Owner: Contractor, approved by the structural engineer.
- Approval gate: No coring through structural elements without written approval.
Stage 3: Install supply pipework with support and expansion in mind
Fix pipes with the clip spacing the material requires, allow for thermal expansion of hot lines, and avoid long unsupported runs in ceiling voids. Different materials move by different amounts when hot, and a hot water line clamped rigidly at both ends will either buckle or crack a joint. Keep pipes away from heat sources and protect any that pass through chases.
- Deliverable: Installed pipework with supports to the specified spacing, with hot and cold lines separated.
- Owner: Plumbing subcontractor.
- Approval gate: Support spacing and expansion provision inspected before insulation.
Stage 4: Install waste and soil pipework to the designed falls
Waste runs need continuous fall to the stack, access for rodding, and correct trap arrangements at every appliance. Fall is checked with a level during installation rather than estimated, because a run that is flat in one section will hold solids there permanently. Joints are made in the direction of flow so that nothing inside the pipe catches.
- Deliverable: Waste layout with measured falls and access points recorded.
- Owner: Plumbing subcontractor, verified by the site engineer.
- Approval gate: Falls verified before any run is enclosed.
Stage 5: Pressure test the supply system and hold it
Cap the system, bring it to the specified test pressure with the specified medium, and hold it for the specified period while the pipework is fully visible. Record the start pressure, the ambient temperature and the pressure at intervals. A small drop can be temperature related, so the record needs the temperature alongside it to be meaningful.
- Deliverable: A pressure test certificate with pressures, times, temperature and the witness signature.
- Owner: Plumbing subcontractor, witnessed by the supervising engineer.
- Approval gate: No plaster, screed or boarding over pipework without an accepted test.
Stage 6: Test the drainage system before it is covered
Waste and soil pipework is tested for watertightness, usually by filling or by an air test, and visually inspected for falls, joints and support. Testing drainage is often skipped because it is assumed that gravity will reveal problems later. It does, usually through a ceiling.
- Deliverable: A drainage test record with the method, duration and result for each section.
- Owner: Plumbing subcontractor, witnessed by supervision.
- Approval gate: Drainage test accepted before closing ceilings and floors.
Stage 7: Insulate, protect and record what is buried
Insulate hot pipework to limit heat loss and cold pipework where condensation is a risk, and protect everything against damage from the trades that follow. Then record it: photograph every wall and floor with pipework exposed, with a tape measure or marked reference in shot, so positions can be found later without guessing.
- Deliverable: A photographic record of concealed services by room, filed with the as built drawings.
- Owner: Contractor quality engineer.
- Approval gate: Photographic record issued before closing works proceed.
Handovers between stages
The riskiest handover is from the plumber to the plasterer and tiler, because those trades work on the same walls with hammers and grinders. Damage done at this point is sealed inside the wall and shows up as a damp patch months later. Brief the following trades on where pipes run, give them the photographic record, and inspect any chase or fixing that is cut after first fix. The second handover is to the trade that fixes sanitaryware, who must not drill into a concealed pipe or breach a waterproof membrane.
How you know it is finished
First fix is complete when the pressure test and the drainage test are signed, the photographic record is filed, the penetrations are approved and sealed, and the supports and insulation have been inspected. The owner should hold the two test certificates per zone. Without them, there is no evidence that what is inside the walls was ever proved, and a leak becomes an argument about who should have tested.
Domira builds and supervises projects across Saudi Arabia, and this is the level of detail its site teams work at. Send the drawings or the site, and Domira will tell you what the specification has to say before anyone prices it.
Frequently Asked Questions
What pressure is used to test water pipework in a building?
Test pressure, medium and duration are set in the project specification and depend on the pipe material, the system and the operating pressure, and manufacturers also state their own requirements. Take the figures from your specification and the pipe manufacturer, and confirm the current requirements before testing, since standards and product guidance are revised over time. Record temperature with pressure, because temperature changes move the reading.
Why should concealed pipework be photographed before plastering?
Because once it is covered, nobody knows exactly where it runs. The photographs let a later trade drill or chase without hitting a pipe, let a leak be traced to a likely joint rather than by opening a whole wall, and give you evidence of what was installed. Photographs with a measuring tape or a marked grid in shot are far more useful than general views.
Can hot and cold water pipes run in the same chase?
They can where the specification and the pipe manufacturer allow it, but they need separation and insulation, because a cold line running alongside a hot one warms up, which affects comfort and hygiene at the outlet. The practical answers are insulation on both, physical separation where possible, and following the pipe manufacturer guidance for the specific products.
Who is responsible if a pipe leaks inside a wall after handover?
It depends on the contract, the defects liability period and whether the leak is a workmanship or a product failure, and it is far easier to resolve when the test certificates and photographic records exist. Keep those documents with the handover file. Where the responsibility is contested, the contract terms govern, and a licensed adviser can tell you what your particular agreement requires.
Have a Property Question?
Domira can help you navigate property, financing and investment decisions in Saudi Arabia. Speak with our team for an initial consultation.