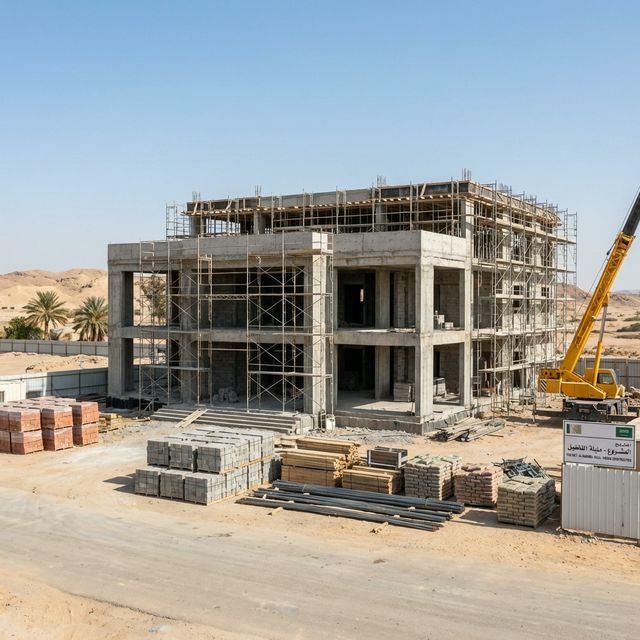
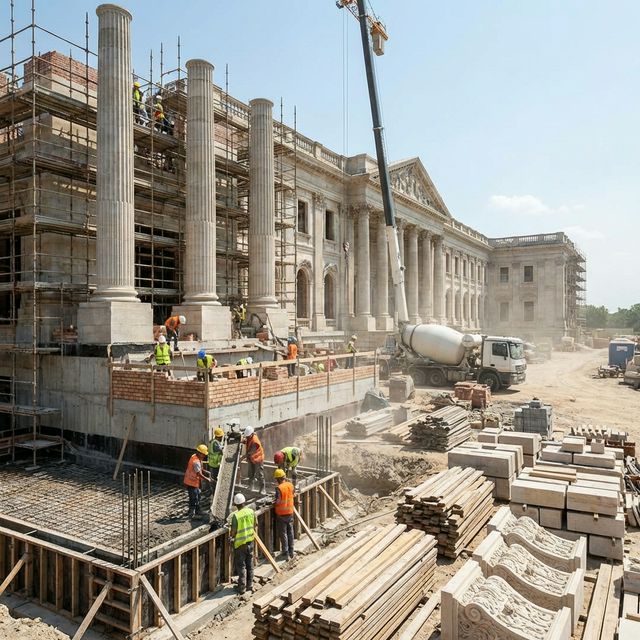
Settled drives, cracked ground slabs and broken drainage almost always trace back to fill that was dumped rather than placed. This is the sequence that prevents it.
Backfill is the most skipped quality process on a building site, because nobody sees it once it is covered. Fill that is tipped in a metre deep and driven over twice will settle for years, and the settlement appears as a dropped kerb, a cracked ground floor slab or a drainage run that has lost its fall. Controlled fill is placed in thin layers, at the right moisture, with the right plant, and tested as it goes. The sequence below is what that control looks like.
Before stage one
Compaction control needs three things agreed before the first load arrives: an approved fill material, a laboratory reference for that material, and a testing regime stating how often density is checked and who signs each layer. Without the laboratory reference, a field density result means nothing, because there is no standard to compare it against.
- A specified fill type with grading limits and a limit on fines, organic matter and oversized particles.
- A laboratory compaction test on the approved source giving maximum dry density and optimum moisture content.
- A stated layer thickness matched to the compaction plant that will actually be on site.
- A testing frequency written into the inspection and test plan, by area and by layer.
- An accredited laboratory appointed, with its reporting route to the supervising engineer agreed.
Stage 1: Approve the fill source
Take samples from the proposed borrow source or stockpile and have them classified: grading, plasticity, and where relevant the sulphate and chloride content, because aggressive fill in contact with concrete and buried pipes shortens their life. Material from the excavation can be perfectly good, but it has to be screened of rubble, gypsum lumps and organic material first.
- Deliverable: A laboratory report approving the source, with the test date and the sample location.
- Owner: Contractor, reviewed by the supervising engineer.
- Approval gate: No fill delivered from an unapproved source.
Stage 2: Establish the laboratory reference
A standard compaction test on the approved material establishes the maximum dry density achievable and the moisture content at which it is achieved. Every later field test is expressed as a percentage of that figure. If the source changes, even to a visually similar material from a different pit, the reference has to be redone.
- Deliverable: A compaction curve with maximum dry density and optimum moisture content for each source.
- Owner: Accredited materials laboratory.
- Approval gate: Reference issued before the first layer is compacted.
Stage 3: Prepare the surface that will receive the fill
Remove soft spots, standing water, vegetation and construction debris from the formation. Scarify and recompact a glazed or dried out surface so the new layer bonds rather than sitting on a slip plane. Where fill meets an existing slope, bench the slope into steps instead of placing fill on a smooth incline.
- Deliverable: An approved formation record with photographs and any soft spot removal noted.
- Owner: Site engineer.
- Approval gate: Formation approved before the first layer is spread.
Stage 4: Place in layers and control moisture
Spread the fill in layers thin enough for the chosen roller or plate to compact to the bottom of the layer, not just the top. In dry conditions water is added and mixed through to reach the moisture at which the material compacts best, and in very hot weather that water evaporates fast, so it is added close to the compaction pass rather than hours before.
- Deliverable: A daily fill record showing layer levels, plant used and number of passes.
- Owner: Contractor earthworks foreman.
- Approval gate: Layer thickness checked by level before compaction of each lift.
Stage 5: Compact with plant suited to the material and the space
Vibrating rollers suit open areas and granular fill. Narrow spaces beside foundations, inside pile caps and over pipe runs need plate compactors or rammers, and those cover far less depth per pass, which means thinner layers. Over a buried pipe, the first layers are compacted by hand to avoid crushing or displacing it.
- Deliverable: A plant list matched to each zone of the works, with layer thickness stated per zone.
- Owner: Site manager.
- Approval gate: Restricted zones identified before backfilling around structures and services.
Stage 6: Test each layer and record the result
Field density tests on each layer, at the agreed frequency and at locations the engineer chooses rather than the contractor chooses, confirm the degree of compaction achieved. A failing test means recompaction and a retest in the same place, not a new test ten metres away. Tests should cover the difficult spots, including corners, edges and trench lines, because those are where compaction is weakest.
- Deliverable: Field density reports referenced to layer, level and grid position.
- Owner: Laboratory instructed through the supervising engineer.
- Approval gate: No layer covered until its test result is accepted.
Stage 7: Close out and protect the finished fill
Compile the records into a single package: source approval, laboratory references, layer records and all test results with their locations marked on a plan. Protect the finished surface from rain, from traffic and from being dug up by a later trade, and where it will be exposed for a long time, seal or blind it.
- Deliverable: A compaction records pack forming part of the handover file.
- Owner: Contractor quality engineer.
- Approval gate: Records accepted before the slab, pavement or landscaping above is approved.
Handovers between stages
The riskiest handover is between the civil team that backfills and the services teams that come later and cut trenches through it. Once drainage, water or electrical ducts are installed through completed fill, the reinstatement of those trenches needs the same layer and testing discipline, and it rarely gets it. Make trench reinstatement a named activity with its own tests rather than something that happens quietly at the end of a shift.
How you know it is finished
Backfill is complete when every layer in every zone has a test result traceable to a position on a drawing, when failures are shown with the retest that passed, and when the surface has been protected until the works above start. If the records consist of a handful of certificates with no locations, you have evidence that testing happened somewhere, which is not the same as evidence that the fill under your building is sound.
Domira builds and supervises projects across Saudi Arabia, and this is the level of detail its site teams work at. Send the drawings or the site, and Domira will tell you what the specification has to say before anyone prices it.
Frequently Asked Questions
What compaction percentage is required for backfill under a slab?
The required degree of compaction is set by the structural or geotechnical engineer for your project and varies with the use above, whether that is a lightly loaded floor, a drive carrying vehicles or fill supporting a structure. It is always expressed as a percentage of a laboratory maximum dry density for the same material. Take the figure from your specification rather than from a general rule.
How often should field density tests be taken during backfilling?
The frequency comes from the inspection and test plan and is normally expressed per layer and per area, with extra tests in confined zones such as trenches and around foundations. What matters as much as frequency is who chooses the test locations. If the contractor picks the spot, the result describes the best compacted area rather than the typical one.
Can excavated soil be reused as backfill?
Often yes, if it is tested and found suitable, screened of rubble and oversized material, and free of organic or chemically aggressive content. Reuse saves disposal and import costs and reduces lorry movements. The decision must be based on a laboratory classification of the actual material, because visual similarity to good fill is not evidence of anything.
Why do driveways and paving sink a year after a build?
Almost always because the fill beneath was placed too thick, too dry or without compaction, or because a services trench cut through it was reinstated carelessly. Settlement continues until the material finds its own density. The repair means breaking out the surface, recompacting properly and relaying, which costs far more than testing would have.
Have a Property Question?
Domira can help you navigate property, financing and investment decisions in Saudi Arabia. Speak with our team for an initial consultation.